Chapter 10: Clinic Management App Part I
Inicio de la aplicacion Clinic Management: estructura, configuracion, AdminLTE, layout principal y logout.
Introduction
So far, we have developed our framework, with a solid structure and some advanced features like dependency injection; but we need to see how we can put this tool to work. In this chapter we’ll start building a real world application, a Clinic Management App. We’ll learn how to start a new app, integrating a template to improve the design considerable.
Project folder
Make a copy of the simplemvc folder and rename it as clinicmanagement. Then we need to configure the virtual host as we already have seen in previous chapters:
<VirtualHost *:80>
    DocumentRoot "C:/xampp/htdocs/clinicmanagement/public"
    ServerName clinicmanagement.test
</VirtualHost>
And we need to add the entry to the hosts file:
127.0.0.1 clinicmanagement.test
Remember to restart the Apache server if it’s already running.
Config
Open the clinicmanagement folder and make the following changes to the config.php file:
<?php
define('DEVELOPMENT_ENVIRONMENT', true);

const CONFIG = [
    'DB_SERVER' => 'localhost',
    'DB_USER' => 'root',
    'DB_PASSWORD' => '',
    'DB_DATABASE' => 'clinicmanagement'
];

define('SITE_BASE', 'http://clinicmanagement.test/');

use  SimpleMVC\helpers\IP as IP;

$sess_id = md5(IP::getRealIP());

define('APP_SESSION_ID', $sess_id);
Of course the clinicmanagement database doesn’t exist yet.
Let’s make a copy of the simplemvc database. We can do it from the phpMyAdmin app, selecting the database and going to the Operations tab, as shown in Figure 48:
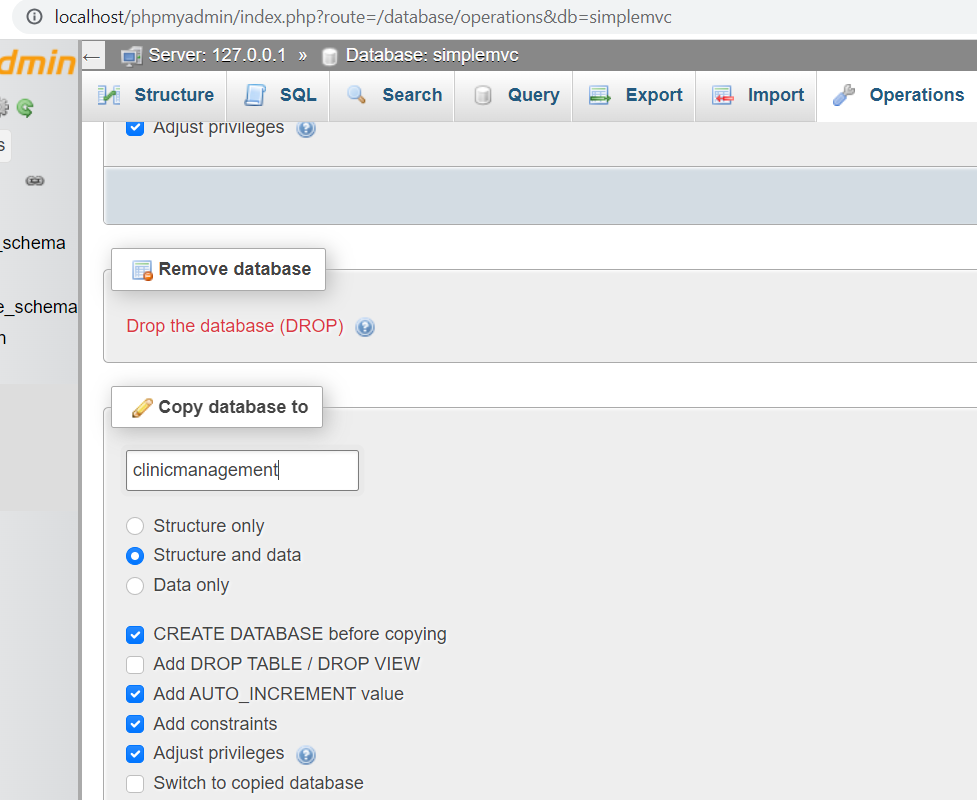
We can get rid of the clients table.
Now if you go to http://clinicmanagement.test/ we should see the login page. Go ahead and use your credentials.
Visual aspect
For this app we’ll use an admin template called AdminLTE. You can see it in action at: https://adminlte.io/themes/v3/
As you can see, it’s very appealing. It is based on Bootstrap and it has a lot of widgets that we can use. At the time of this writing, we can download the releases from this page
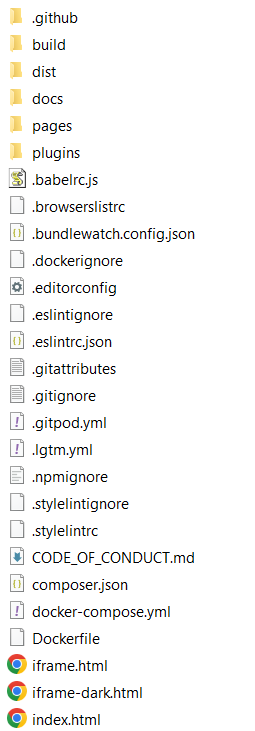
I’m grabbing the 3.2.0 release. After extracting the folder, you should see the structure shown in Figure 49:
Main layout
Inside the views -> layout folder create another file called menu.php. We’ll leave it empty for now. Now, open the AdminLTE folder and then the index.html file with your IDE or a text editor, grab the code and paste it in main.php replacing the current content. Of course it won’t work because we don’t have the js and css files.
Grab the dist and plugins folders and copy them inside the public folder of the new application.
It still won’t work, and you’ll see a lot of errors in the console (Figure 50).
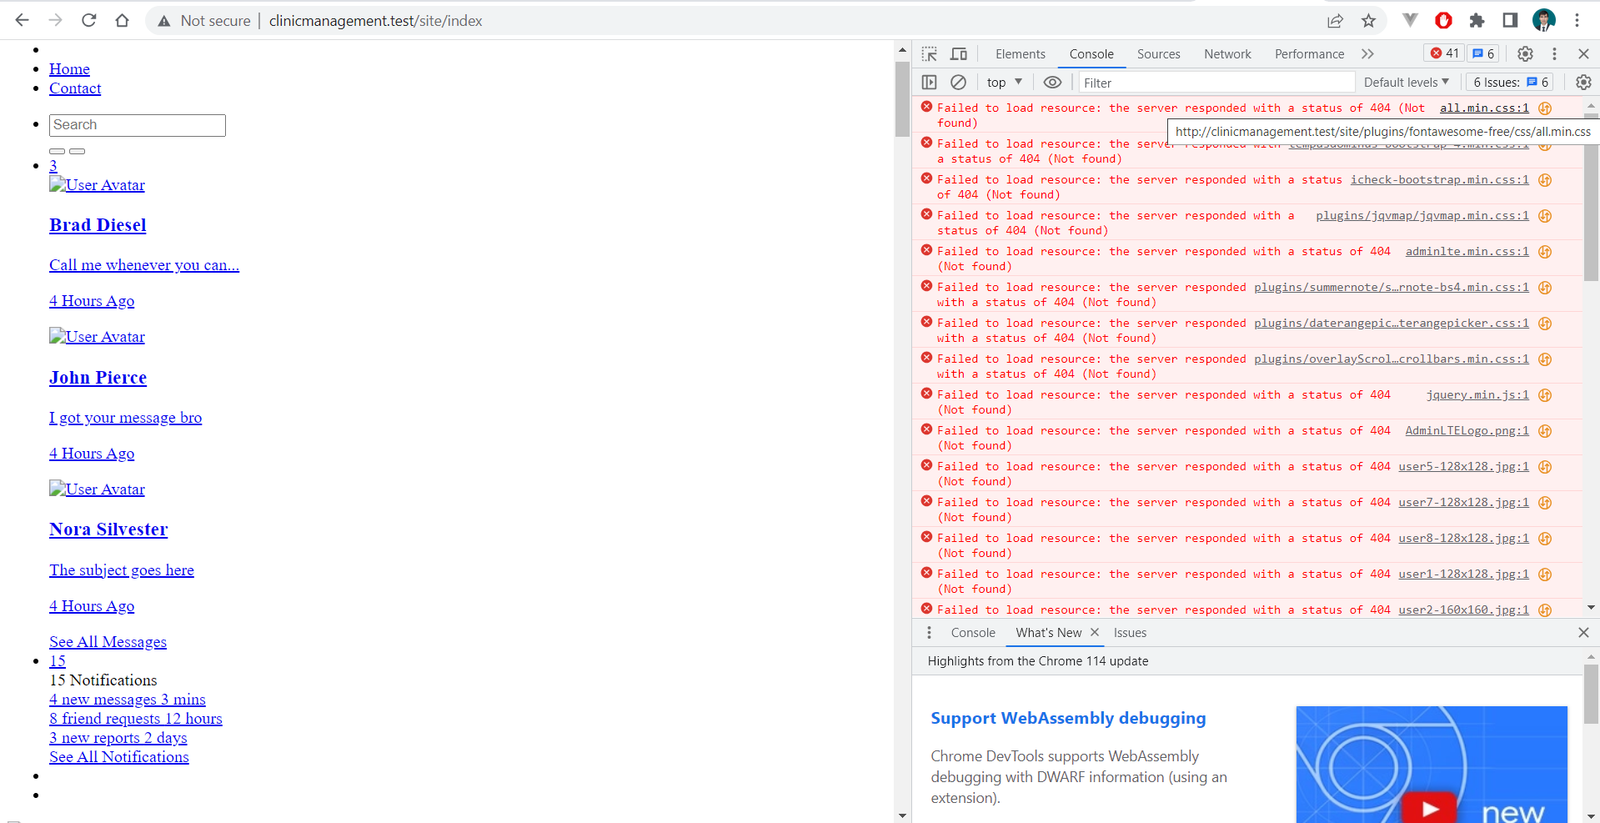
The problem is, the server are trying to find the files at http://clinicmanagement.test/site/ that is, relative to the index page.
All we need to do is add
<base href="<?= SITE_BASE ?>">
Right before the title tag. Now the site will display correctly.
There is a lot of content we don’t need. We’ll get rid of everything inside:
<div class="content-wrapper">
In my case, that means delete from line 853 to 1453.
Place the content inside the div:
<?= $content ?>
We should see the Welcome message that we placed inside views -> site -> index.php.
Now replace everything between:
<!-- Sidebar Menu -->
And:
<!-- /.sidebar-menu -->
Place this line:
<?php include_once 'menu.php'; ?>
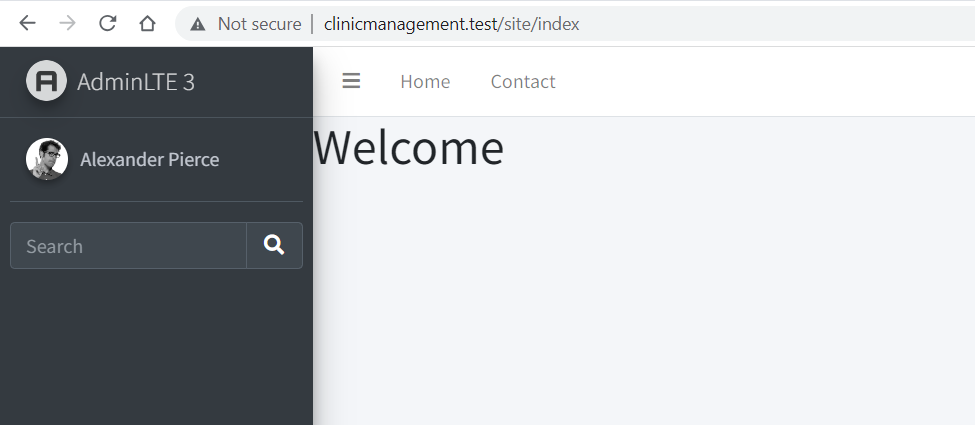
Between the comments. Now the app will look a lot cleaner (Figure 51):
At the end of the main page, we have these lines:
<!-- AdminLTE for demo purposes -->
<script src="dist/js/demo.js"></script>
<!-- AdminLTE dashboard demo (This is only for demo
purposes) -->
<script src="dist/js/pages/dashboard.js"></script>
Since they are only for the demo we can delete them.
Logout button
In the main.php layout we have this dropdown menu:
<!-- Notifications Dropdown Menu -->
<li class="nav-item dropdown">
  <a class="nav-link" data-toggle="dropdown" href="#">
    <i class="far fa-bell"></i>
    <span class="badge badge-warning navbar-badge">
      15
    </span>
  </a>
  <div
    class="dropdown-menu dropdown-menu-lg
      dropdown-menu-right">
    <span class="dropdown-item dropdown-header">
      15 Notifications
    </span>
    <div class="dropdown-divider"></div>
    <a href="#" class="dropdown-item">
      <i class="fas fa-envelope mr-2"></i> 4 new messages
      <span class="float-right text-muted text-sm">
        3 mins
      </span>
    </a>
    <div class="dropdown-divider"></div>
    <a href="#" class="dropdown-item">
      <i class="fas fa-users mr-2"></i> 8 friend requests
      <span class="float-right text-muted text-sm">
        12 hours
      </span>
    </a>
    <div class="dropdown-divider"></div>
    <a href="#" class="dropdown-item">
      <i class="fas fa-file mr-2"></i> 3 new reports
      <span class="float-right text-muted text-sm">
        2 days
      </span>
    </a>
    <div class="dropdown-divider"></div>
    <a href="#" class="dropdown-item dropdown-footer">
      See All Notifications
    </a>
  </div>
</li>
Let’s replace it with the following:
<!-- Notifications Dropdown Menu -->
<li class="nav-item dropdown">
  <a class="nav-link" data-toggle="dropdown" href="#">
    <i class="far fa-user"></i>
  </a>
  <div
    class="dropdown-menu dropdown-menu-lg
      dropdown-menu-right">
    <span class="dropdown-item dropdown-header">
      User: <?= $_SESSION["username"] ?>
    </span>
    <div class="dropdown-divider"></div>
    <a href="#" class="dropdown-item dropdown-header">
      <span>
      <a class="link"
        style="display: block; padding: 0.5rem 1rem;"
        href="user/change">
        <i class="far fa-user pr-2"></i>
        <span>Change Password</span>
      </a>
        <form action="user/logout" method="post">
          <input type="hidden" name="closesession"
            value="1">
          <i
            class="fa-solid fa-arrow-right-from-bracket">
          </i>
          <button class="btn btn-danger btn-block"
            type="submit">
          </i>Logout</button>
        </form>
      </span>
    </a>
    <br>
  </div>
</li>
We’ll see a dropdown menu with a link to change the password and a button to close the session, as shown in Figure 52:
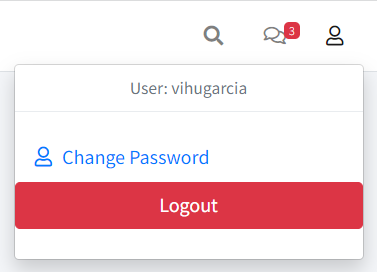
Go ahead and press Logout. We’ll be redirected to the login page, but we have a problem, as seen in Figure 53:
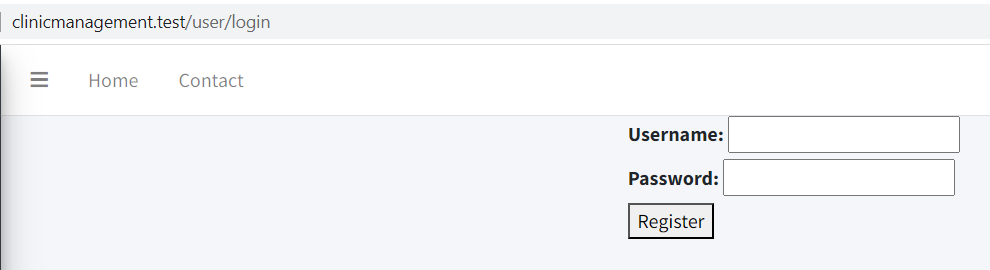
The login page is rendering along with the main page, but this shouldn’t be the case. Fortunately we have taken that into account.
Let’s go back to the View class of the framework and the render method:
public function render($main = true, $scripts = '')
{
    extract($this->variables);

    if ($main == true) {
        ob_start();
        include ROOT . DS . 'application'. DS
          . 'views'
          . DS . $this->controller . DS
          . $this->action . '.php';
        $content = ob_get_clean();

        include ROOT . DS . 'application'. DS
          . 'views'
          . DS . 'layouts' . DS . 'main.php';
    } else {
        include ROOT . DS . 'application'. DS
          . 'views'
          . DS . $this->controller . DS
          . $this->action . '.php';
    }
}
If we don’t pass any parameter or we pass true as the first one, the main layout will be displayed.
So, in the login method of the UserController we need to change the line:
$this->view->render();
To:
$this->view->render(false);
We can see our login page displayed, but it has no styles. This is because it was originally presented as a partial view. Let’s change the content as follows:
<html>
  <head>
      <link rel="stylesheet"
        href="<?= SITE_BASE ?>css/main.css">
  </head>
  <body>
  <div style="display: flex; justify-content: center">
      <form action="<?= SITE_BASE ?>user/login"
        method="POST">
          <div>
              <label for="username">Username:</label>
              <input type="text" name="username" value="">
          </div>
          <div>
              <label for="password">Password:</label>
              <input type="password" name="password"
                value="">
          </div>
          <button type="submit">Login</button>
      </form>
  </div>
  </body>
</html>
Now the login screen is working as before.
Summary
In this chapter we have started working on a new application. We’ve copied the base folder from the previous chapter, set up the database, and incorporated the interface.
In the next chapter, we’ll start creating the app tables and the first CRUD operations.